
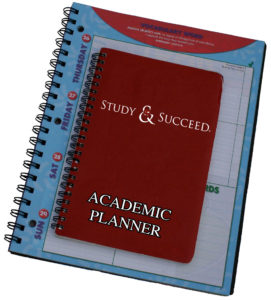
An academic planner is the single most important tool you can have. You will use it to schedule your time, manage schoolwork, and stay organized.
The more you use it, the better it will serve you.
Being consistent about using an academic planner will save you loads of time and stress.

If you already use a planner, this post contains suggestions for using it in the best possible way. If you don’t use a planner, this post will introduce several habits that make a planner work for you.
A planner will help you:
- Avoid time-wasting activities
- Feel more in control of your schedule
- Keep you on track with your academics
- Stay organized and on top of your day to day
It doesn’t take a lot of work either. A few simple habits and routines are all you need to get more work done in less time.

Step 1: Setting Up Your Planner
- Always write your contact information in the front of your planner.
- Write down website addresses for important information related to your classes.
- Attach a binder clip at the top to clip previous pages together.
This will help to prevent it from getting lost should you misplace it somewhere.
If you have an online textbook or class discussion forum, write down these addresses as well.


This will help you turn to your current page much faster and they are much sturdier than paper clips.
Step 2: Plan the Big Picture
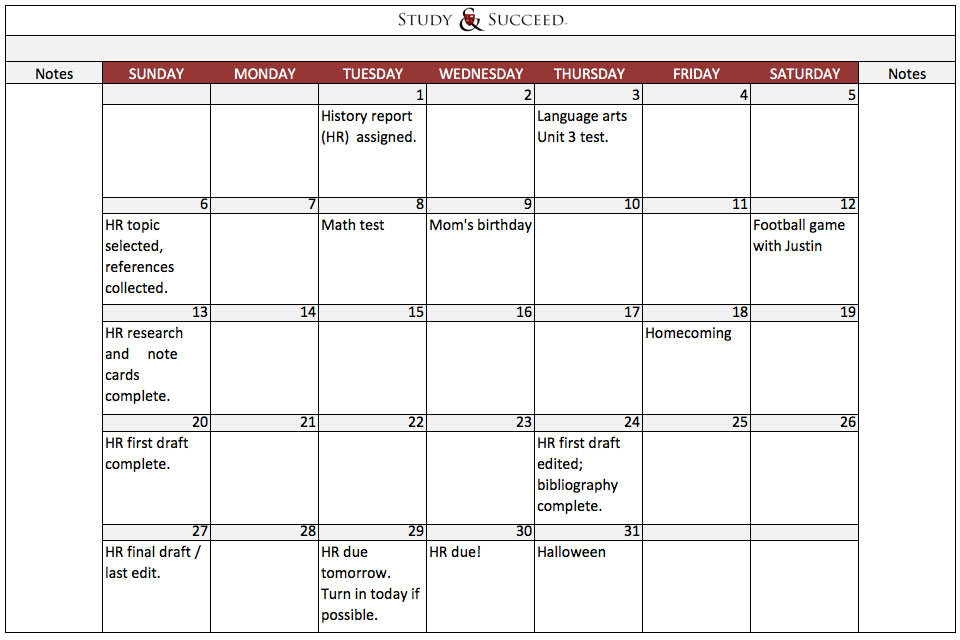
- Use the monthly calendar section of your planner to plan your month ahead.
- Write down any upcoming important events that are significant to you.
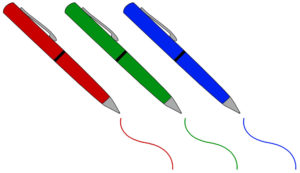
- Write school assignments using a pen with the corresponding color for each subject.
- Use “chunking” to break down long-term assignments into smaller, more manageable tasks.
You can use the monthly calendar here to get started if you don’t have a planner yet. Just print it out, write in the dates of the month, and place it in a visible location. You may want to either staple it in your planner or hang it on the wall in your study space.
This step is particularly useful for keeping you on track toward the goals listed on your Action Plan Map.
You will need to keep these in mind when planning your academic assignments.

Keep to your monthly schedule as much as possible. This will help you to stay on track for large assignments and avoid procrastinating.

You want to become proficient at using the monthly calendar in your planner. It will help you turn large, daunting assignments into manageable tasks. This practice will reduce a lot of stress when used consistently.
Step 3: Weekly Planning
Set aside about 15 minutes every week to plan for the upcoming week.
It’s important that you plan this time and follow through.
For most people, the best time to do this is Sunday evening. Middle and high school students may want to include parents in weekly planning sessions.
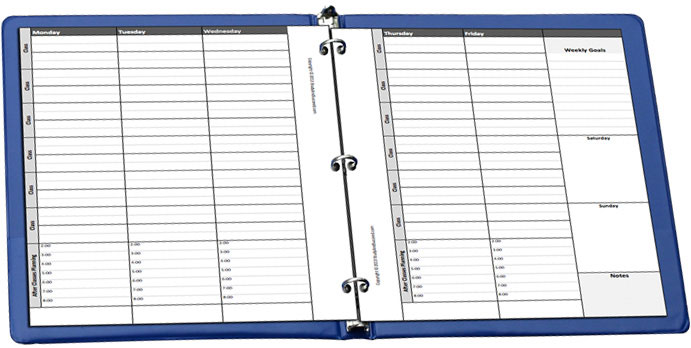
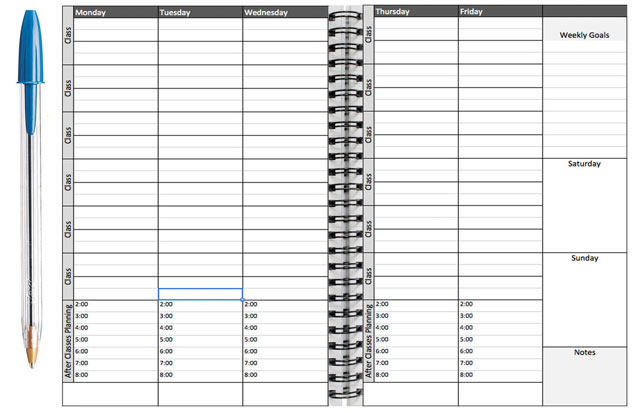
- Use the weekly layout section of your planner to write down your upcoming schedule.
- Write down all your Essential activities from the Priorities Chart.
- Write down all your Secondary activities.
- Block out large spaces of time for studying.
- You don’t have to schedule every minute of your day.
- Pick one day a week that works for you.
You can use the weekly calendar here to get started. Just print it out, write in the dates of the week, and place it with your monthly calendar.
Start with the activities that have a fixed time, such as school classes. Then add in Essential activities that do not have a fixed time, such as chores or sleeping.
This includes scheduling:
a) Part time job
b) Sports practices
c) Music lessons, etc.
Also, write down events that you don’t want to miss. You might include going to the movies with friends or plans to meet a family member for lunch next weekend.
Make sure you plan to study when you are as alert and energetic as possible. The best time to schedule studying and homework is as close to your class as you can. You want the material to be fresh in your mind.
At the end of the day, leave extra room in case some activities take longer than you planned. If you don’t need the time, you can enjoy a relaxing activity from your Luxury category.
Update your weekly schedule on that day every week. Then take two or three minutes to update your monthly calendar. Double check that you are on task with any projects and see if there is anything you need to adjust.
My weekly planning session will be:
Day of the week:___________________ Time:_____________________
This student started by writing down weekly goals.


Next, she scheduled her Essential activities, followed by Secondary activities.
Notice how her weekly goals match her after school and weekend schedule. She has included time for soccer practice and violin lessons.
Most important, she planned lots of time for studying and reviewing notes.
This student has also added some time for Luxury activities. She made sure not to schedule every minute. This way she has room for activities that take longer than she planned.
In this next example, the student also uses her planner to write class assignments during the day. The snapshot would be on Tuesday evening. This is because she has entered her daily assignments for Tuesday but not for Wednesday.
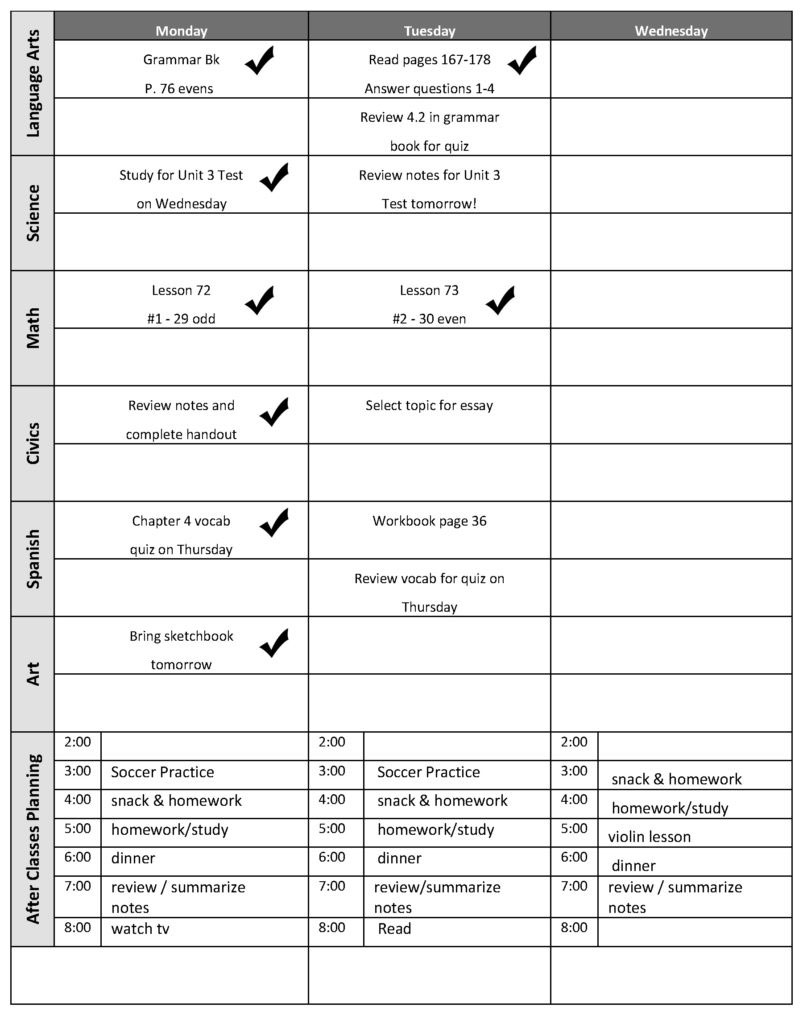

Notice that there are checks after many assignments. This indicates that the assignment is complete and the study materials are put away. This is a strategy many students find very helpful. After you have put the books and binders in your bag for the next day, check off the assignment in your planner.
It’s a great feeling to see all of the checks and know that you are prepared for the next day.
Step 4: Using Your Planner in Class
- Keep your planner accessible always.
- Get into the habit of writing in your planner as soon as your homework is assigned.
- Next to the assignment, write down any textbooks or notebooks you will need to bring home to complete the assignment.
- Before you leave school at the end of the day, take a quick look in your planner where you’ve written down your assignments.
- Once you have completed an assignment, put the paper into that subject’s homework section of your binder.
If your planner has holes in it, keep it in your binder. The best binders have a place to keep a pen. If your planner has a spiral binding, keep a pen inside the rings. This will save time when you write homework or other information.
Even if you think you can remember it, write it down anyway!

If you wrote down the books you will need earlier, this will take less than a minute. It can save you hours of frustration later.
Place your binder and related books directly in your backpack. Only then should you check off the assignment in your planner.
This is to prevent those situations when you accidentally leave your work at home.
Electronic Academic Planners & Smart Phones
There are both advantages and disadvantages of using electronic devices.
Such as:
- Mobile phones
- Tablets
- Planners
It’s a personal decision. You need to decide whether a traditional planner or electronic planner will work best for you. We do however recommend a written system. Writing is more detailed, can be personalized, and helps you become more aware of your assignments.
Before you make your decision, consider the following:

Advantages of Electronic Planners
- If you have a smart phone or tablet, it’s most likely always with you already.
- You can set up your electronic device to correspond to your email.
So it will be easy to add information and check your schedule.
This way you can send yourself reminders for important events.

Disadvantages of Electronic Planners
- Because of their size, most smart phones often do not allow you to see the “big picture” all at once.
- Some schools or teachers do not allow electronic devices to be used in class.
Larger tablets make better planners for this reason
If this is the case, do not use it as your planner. You will be less likely to write down information during class and that is a key part of using the planner.
You can always keep notes with your phone and transfer them to your planner at a designated time at the end of the day.
If you decide to use an electronic device as your planner, please keep the following in mind:
Guidelines for Electronic Academic Planners
- You still need to have your weekly planning session.
- It is important that you use your electronic planner on a regular basis during school.
- Teachers do not always update homework assignments on class websites.
- Check your schedule on a regular basis during the day.
- Use a tablet or printed monthly calendar to plan your long-term assignments and month-at-a-glance.
- Keep your device charged!
If it runs out of battery, it will be completely useless as a planner.
You also need to check it again before leaving school and going to bed.
So be sure to make a note of homework assigned in class as you would with a paper planner.
Smart phones and smaller electronic devices can be useful for day to day planning, but not for big picture scheduling.
Conclusion
An academic planner is one of the most effective tools of a successful student. The most important part of keeping a planner is being consistent. Next is being organized and staying up-to-date.
Use a monthly calendar to plan the big picture for the month ahead. Then break those down into smaller tasks, and organize them daily in your weekly calendar.
Program your brain to include your planner everywhere you go. Again, the more you use it, the more it will serve your best interests.
By following the procedures and routines described in this post, you will be less stressed. This is because you will have more control over how you spend your time. Also, you will be able to enjoy your free time more.
